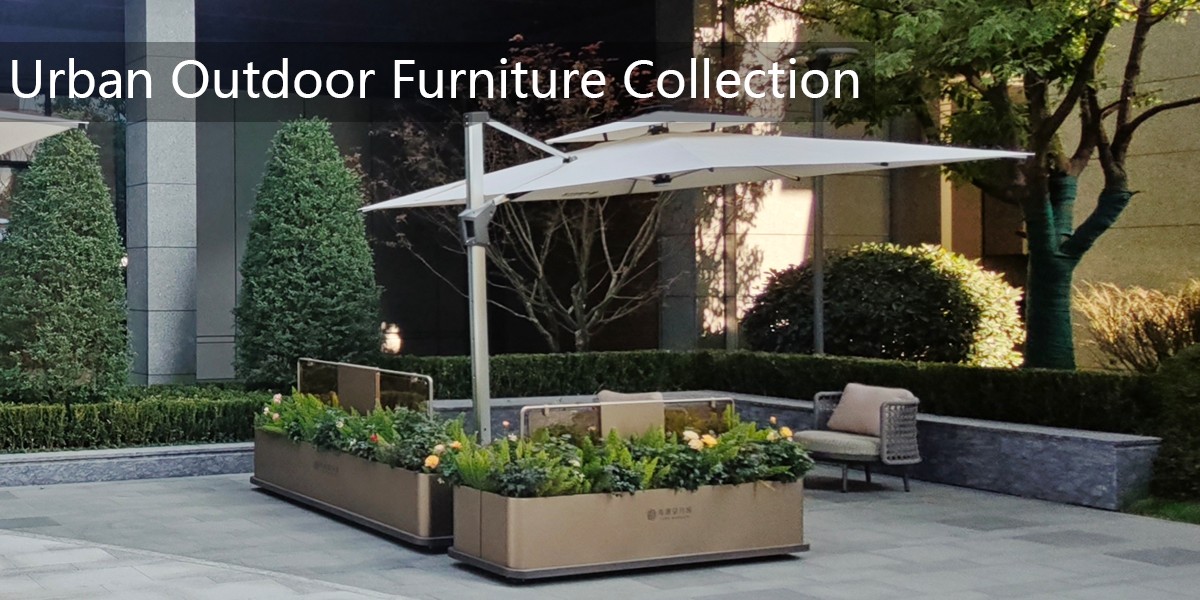
Attaching a hose to the irrigation system provided by your planter box factory for deep-root planters is a straightforward process that ensures efficient watering directly to the root zone. Follow these steps to make a secure connection:
1. Locate the irrigation inlet: On your deep-root planter, find the designated inlet port, usually positioned near the base or side. This port is specifically designed for hose attachment.
2. Prepare the hose end: Ensure your garden hose has a standard threaded fitting. If not, attach a compatible connector. For drip irrigation systems, a 1/4-inch or 3/8-inch adapter may be needed.
3. Connect the hose: Screw the hose connector onto the planter’s inlet port. Turn clockwise until snug—avoid over-tightening to prevent damage to the plastic threads.
4. Use a quick-connect adaptor (optional): Many factory systems include a quick-connect valve. Simply push the hose adaptor into the port until it clicks, then lock it in place.
5. Test the connection: Turn on the water supply slowly and check for leaks at the attachment point. If dripping, tighten slightly or add a rubber washer.
6. Adjust for deep-root watering: Once attached, the internal drip lines or soaker hoses inside the planter will deliver water evenly to the deep root zone. Use the system’s flow regulator to control water volume.
For custom deep-root planters, always refer to the factory’s specific manual—some models feature a threaded brass fitting for more durable hose attachment, while others use a barbed connector requiring a clamp. If you encounter compatibility issues, ask your planter box supplier for a factory-recommended hose adaptor kit.
In summary, by matching the hose fitting to the planter’s inlet and checking for leaks, you can easily integrate a standard garden hose or drip system into your planter box factory’s irrigation solution for optimal plant growth.