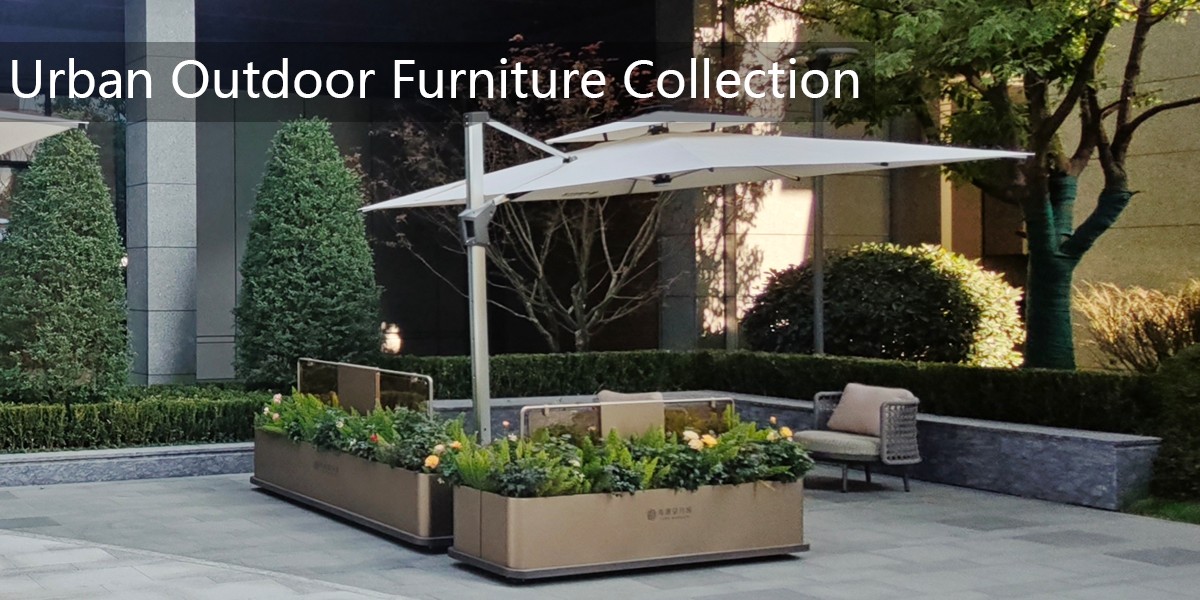
At our outdoor bench factory, every piece moves through a controlled sequence before it reaches you. The frame is cut, drilled, welded or bent, then checked on a jig so legs, arms, and mounting points line up. Wood, composite, or metal slats are measured, finished, and trial-fitted. After coating or sealing, the bench is partially assembled, inspected, and then packed as a flat-pack or semi-assembled unit. Threaded inserts, brackets, and pilot holes are usually added at this stage, which is why final assembly at your site is much simpler than building from raw materials.
When you open the crate, you should see labeled parts, a hardware bag divided by assembly step, and an illustrated manual. Many models also include a QR code for a short video. The exact steps vary by design, but a typical outdoor bench follows this order: unpack and check the parts; lay the pieces on a soft, flat surface; attach the side frames or legs to the seat frame; connect the backrest or support braces; add armrests, slats, or shelf components; start all bolts by hand; align the bench; then tighten everything in a diagonal pattern. For larger benches, two people make the process faster and safer.
Do you need special tools? For most of our outdoor benches, no. Standard hand tools are enough: an Allen key or hex wrench, an adjustable wrench or socket set, a Phillips screwdriver, and occasionally a rubber mallet. Many hardware kits include the basic wrench you need. A cordless drill is handy if you are anchoring the bench to a wood deck or concrete pad, but it is not required to assemble the bench itself. If you order a fully welded model, assembly may be as simple as placing it, checking the level, and installing anchor bolts. For concrete anchoring, you may need a hammer drill and a masonry bit—but that is an installation step, not a special bench-assembly requirement.
A few practical tips: leave bolts slightly loose until every hole is aligned, avoid over-tightening, and recheck hardware after the first week of use. Keep the manual and extra hardware in a safe place. If a part is missing or damaged, contact the factory with the part number and order details. In short, our outdoor bench factory designs for easy final assembly: pre-drilled holes, labeled hardware, and common tools. Unless you are anchoring to masonry or handling a custom commercial installation, you do not need special tools.